
How a Broadcast Studio Layout Goes From Empty Room to Working Plan
Daniel Okafor
A look at how we survey a space, test its acoustics and draw the cabling for a television studio, and the choices that decide whether crews can work comfortably there.
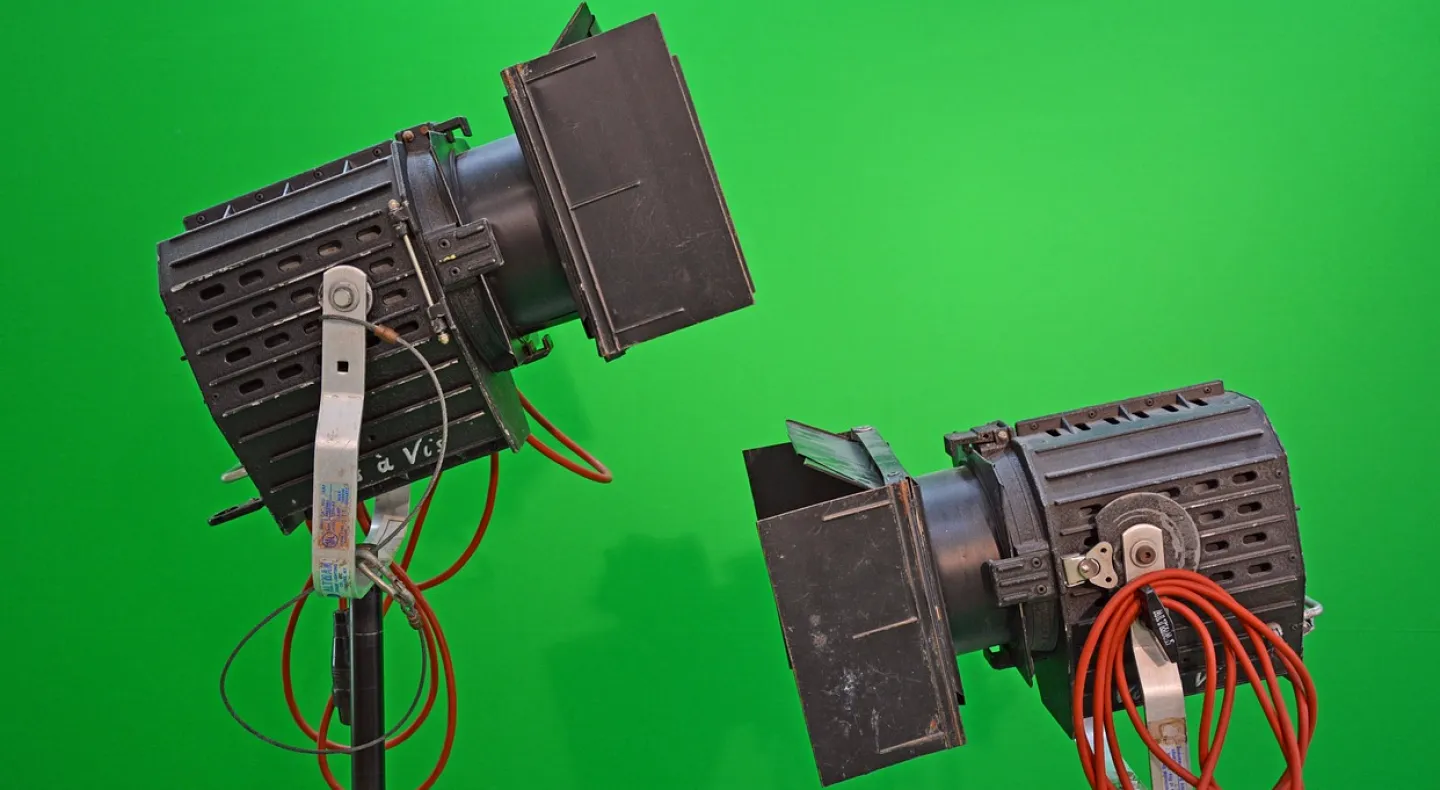
Starting with the room, not the drawing
Every studio plan begins with a visit. Before anyone opens drawing software, we walk the space with a tape measure, a notebook and a handheld level meter, and we ask the people who will work there to describe an ordinary shoot day from load-in to wrap. That conversation tells us more than a floor plan alone, because the same room can host a two-presenter discussion programme or a quiz with a studio audience, and those need very different arrangements.
We note ceiling height, the position of doors and fire exits, where power enters the building, and what runs through the walls. Rooms in converted industrial buildings, which are common around Gloucester, often have lovely volume but surprises such as columns, plant noise from a neighbouring unit or a floor that slopes towards a drain. Finding these early costs an hour. Finding them after cabling is pulled costs days.
Measuring what the room does to sound
As lead sound engineer I take the acoustic side of the survey. We clap, run a test sweep through a small speaker and record how long sound lingers at different points. A hard, bare room can ring for well over a second, which makes dialogue muddy and forces presenters to speak up. Too much absorption has its own cost, leaving voices flat and tiring to mix.
The aim is a controlled, even decay that suits speech, not a dead box. We look at where treatment can sit without fighting the lighting grid or blocking camera positions, and we separate two problems that are often confused: reflections inside the studio and noise arriving from outside it. Panels help the first. Only mass, sealing and sensible door design help the second, and the plan has to say which one it is solving.
Drawing the floor around cameras and talent
The layout drawing starts with the set and works outwards. We place the main acting areas first, then mark camera positions with the lens heights and movement paths each programme needs, leaving room for a pedestal to travel without catching a cable. Monitors, prompters and floor manager positions follow, because a crew that cannot see the director's cues soon works around the plan rather than with it.
We then test the drawing against the awkward moments: a presenter walking from the desk to a screen, a guest arriving mid-programme, a camera swapping sides between segments. Where the drawing fails one of these, we move things on paper, which is far cheaper than moving them on the studio floor. Priya Shah, our lighting designer, reviews this stage so that rigging points and sightlines agree before anything is committed.
Planning cable routes and connection points
Cabling is the part viewers never see and crews never forget. We draw every route: from camera positions and microphone points back to the control room, along cable trays or under floor channels, with power and signal kept apart to avoid hum. Each run is given a label that appears on the drawing, at both ends of the cable and in the patch schedule.
We leave deliberate spare capacity. A studio that begins with three cameras often wants a fourth within a couple of years, and a spare conduit costs very little when the walls are open. Floor boxes go where talent actually stands, not where the architect's grid happens to fall, and we avoid long exposed runs that crews will tape down and then forget about until someone trips on them.
Checking the plan with the people who will use it
Before the plan is final we walk through it with the producer, the floor crew and whoever will run the gallery. We mark the drawing out on the floor with tape, set up chairs for camera positions and ask someone to act out a rehearsal. Nobody enjoys this much, but it regularly turns up small points: a door that swings into a camera path, a monitor that sits behind a lamp, a talkback point that is out of reach.
Changes made at this stage are written into the drawing and dated, so the version the installers receive is the version everyone agreed. We also write a short note listing what the plan assumes, such as the programme types and crew size it was drawn for, so that anyone changing the studio later knows what they are altering.
A good studio plan is mostly careful listening, measuring and testing, with the drawing recording decisions the whole crew has already seen. If you are weighing up a room or an existing studio that no longer fits its programmes, we are glad to talk through what a survey would involve. The contact page is the place to start.
More from the guides
Vision Mixing and Signal Routing Terms Explained for Live Crews
A plain-words guide to the terms live crews use every day: tally, routing, cut, take and return feed, and why each one matters on a busy event.
Lighting Your Studio Through the Darker Months: Autumn Planning Notes
Shorter days change how studios and stages are lit. Priya Shah sets out what to check in your lighting plots and rigs before winter schedules and live seasons fill up.
Daniel Okafor
Send us a message
- Call us
- Write to us